
The party’s happening indoors this year, maybe because of the weather, maybe because a backyard setup is more work than it’s worth, and you don’t want the room to just be a table pushed against the wall with a few balloons taped up over it. A fairy light canopy is the one decoration that does the most to transform an ordinary living room or bedroom into something that actually photographs like an event happened there. These dreamy indoor birthday decoration ideas build outward from that canopy, treating it as the anchor for the whole space rather than one decoration among many competing for attention.
1. Understand What Makes a Canopy Look Full Instead of Sparse
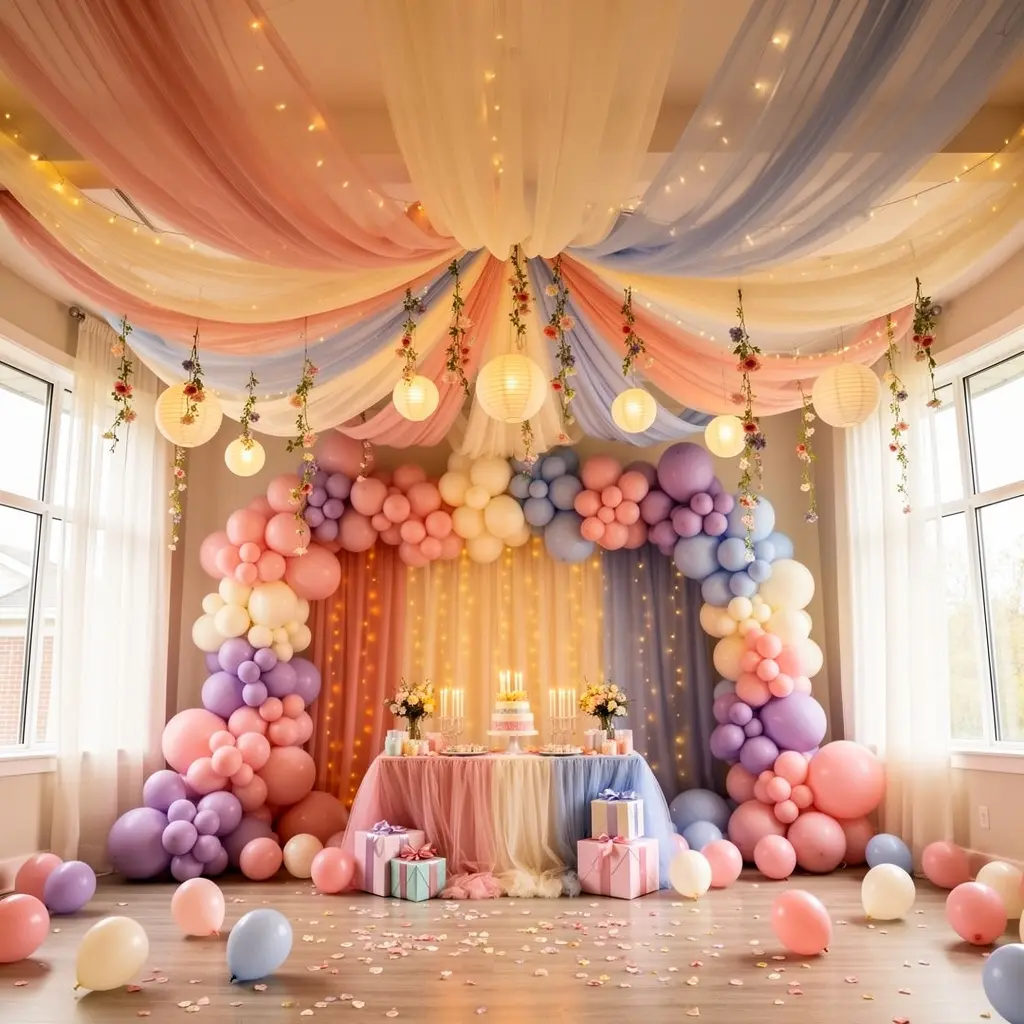
The biggest reason DIY fairy light canopies end up looking thin in photos comes down to plain density. A few single strands stretched across a ceiling read as underwhelming the moment the lights actually turn on, no matter how carefully they’re arranged. Aim for at least six to eight strands radiating out from one central point to build that immersive, glowing effect instead of a scattering of thin individual lines that leave gaps between them.
Why the Central Point Matters So Much
Anchoring every strand to one central spot on the ceiling, whether that’s a hook, a ceiling fan base, or a small suspended embroidery hoop, creates a starburst effect as the lights fan out toward the walls. Without a clear anchor, the strands tend to look randomly draped rather than intentionally designed, and that difference shows up immediately in any photo taken looking up.
2. Choose Warm White Over Cool White or Multicolor

Warm white string lights, generally somewhere in the 2700K to 3000K range, create the cozy, golden glow people mean when they describe a canopy as dreamy. Cool white or plain white lights read as more clinical, and honestly can push the same setup closer to a garage sale display than anything styled on purpose.
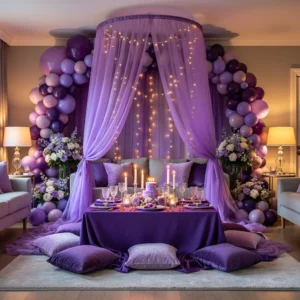
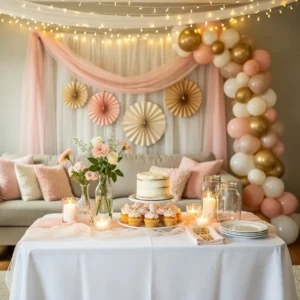
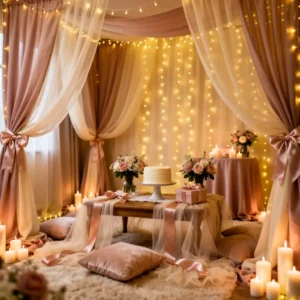
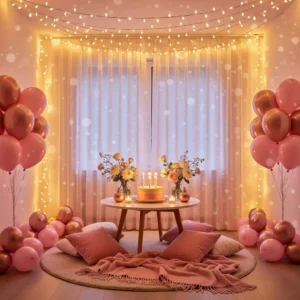
Multicolor lights have a place for a younger or more playful theme, sure, but for a genuinely soft, dreamy effect, warm white consistently wins out in how the actual space feels once the lights are the main source in the room.
3. Use Sheer Fabric to Diffuse the Light
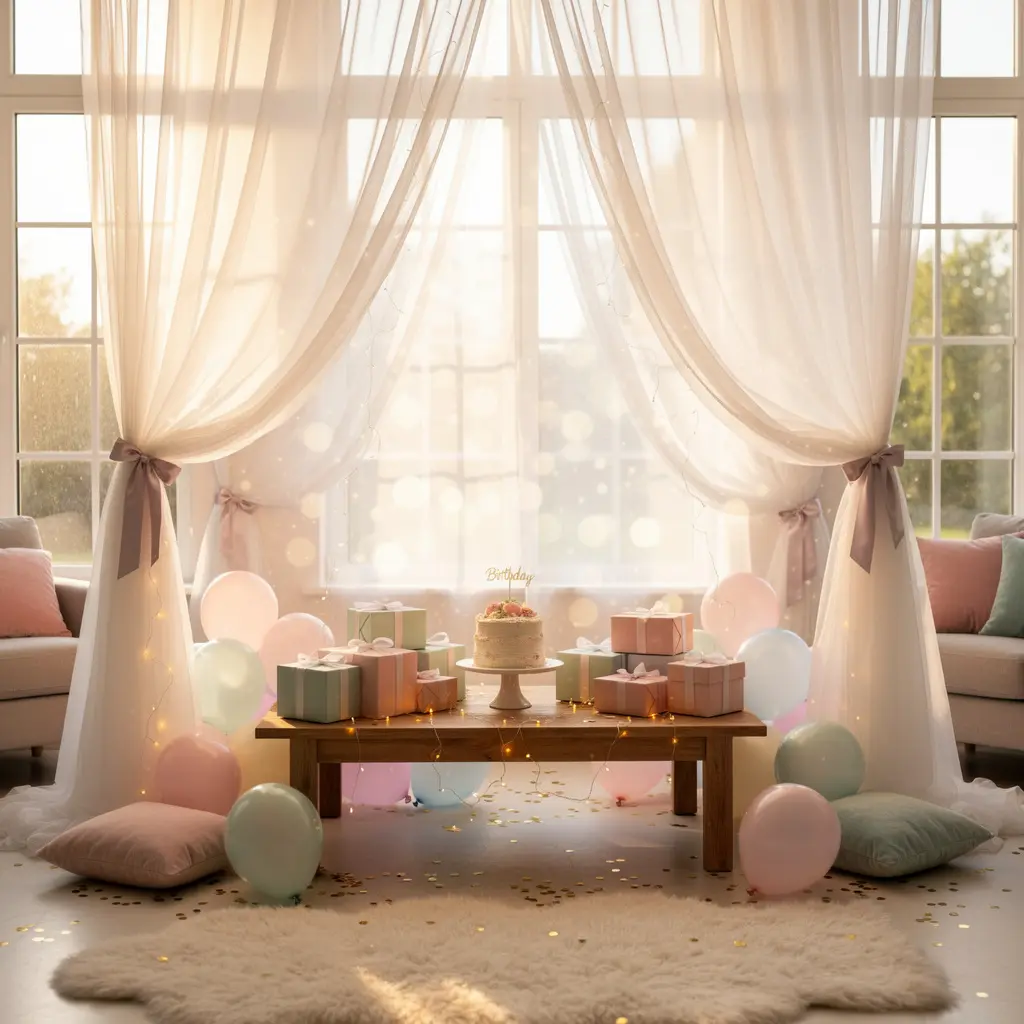
Wrapping your fairy lights in tulle, chiffon, or another sheer fabric turns individual points of light into a softer overall glow instead of a scatter of sharp pinpoints. This one change is the difference between a canopy that looks like a science fair display and one that looks like a real, styled installation someone actually planned.
A Simple Wrapping Method That Actually Works
Loosely wrap the sheer fabric around each strand before hanging it, leaving enough slack that light can still pass through without being blocked entirely. Wrap it too tight and you’ll dim the whole effect more than you want. Leave it too loose and the fabric barely diffuses anything at all, so aim for somewhere comfortably in between.
4. Build the Canopy With an Actual Frame, Not Just Tape
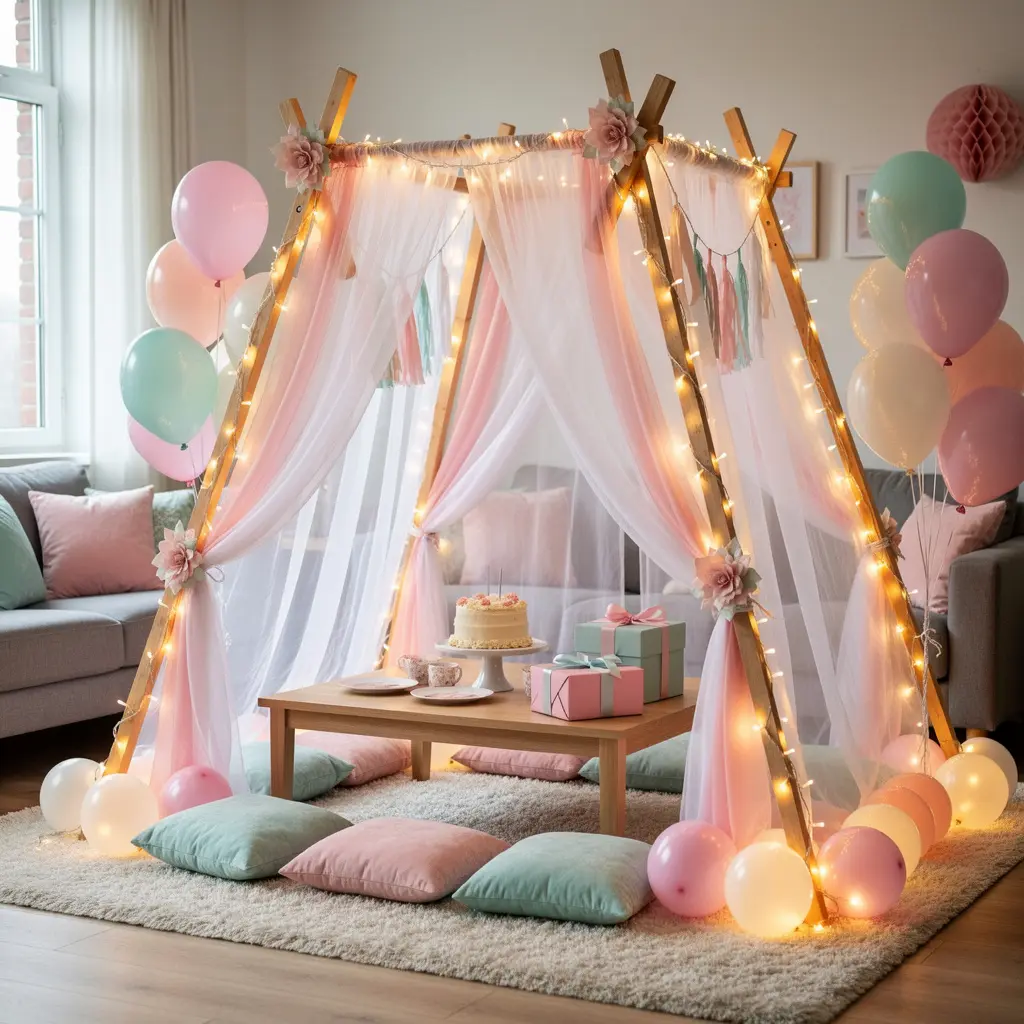
Tape stuck directly to the ceiling tends to sag as the hours pass, and that sag shows up clearly in any photo taken later in the party than the first one. A lightweight frame instead, a suspended hula hoop or embroidery hoop anchored overhead, or a series of PVC arches spaced along a walking path, holds its shape the entire event and can usually be built for somewhere between $30 and $120, depending on how many materials you’re buying new.
Reusable pieces like the frame itself and the LED strings bring the cost down considerably for the next event, since fabric and any disposable elements tend to be the only things that actually need replacing.
5. Choose Battery or USB Powered Lights for Flexible Placement
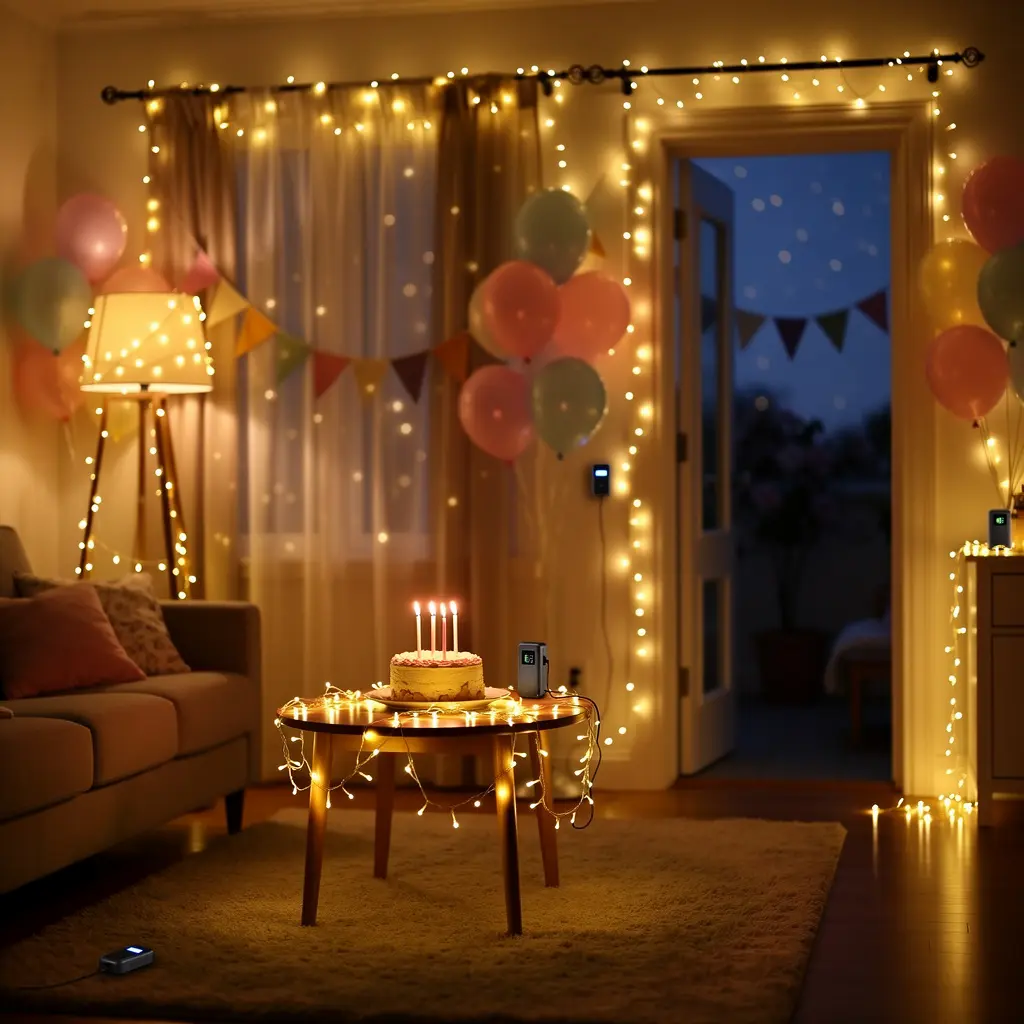
Plug-in lights limit you to wherever the nearest outlet happens to sit, which isn’t always where you actually want the canopy centered. Battery operated or USB powered string lights, paired with a small portable power bank, let you build the canopy exactly where you want it, over a bed, a seating area, a walkway, without a single visible cord running across the floor for someone to trip over.
6. Add a Second, Lower Light Source
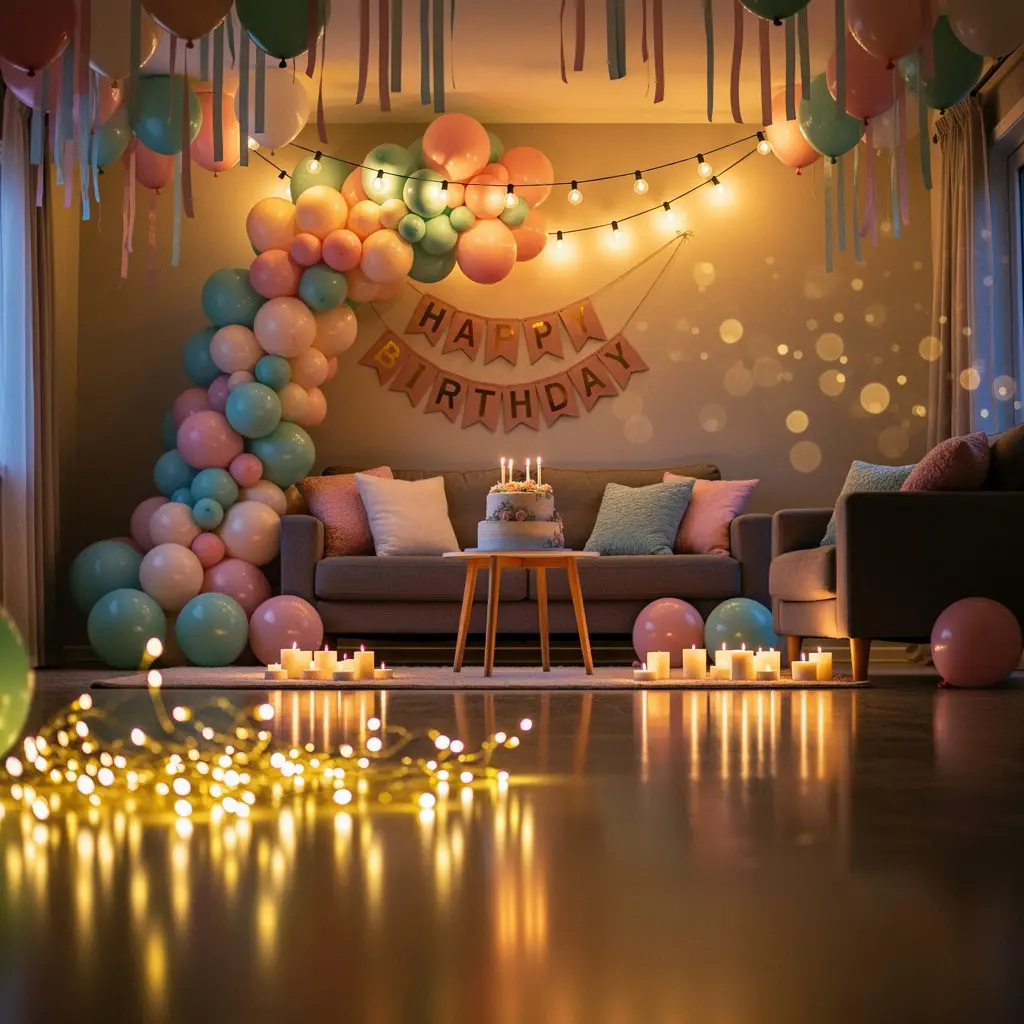
A canopy overhead handles most of the visual work, but pairing it with a second, lower light source, a small lantern on a side table, a scattering of flameless candles, adds real depth to the room instead of leaving all the light bunched up near the ceiling. This layered approach shows up constantly in event design because it mimics how natural light actually falls across a real space, from multiple heights, not just one.
7. Add a Coordinating Backdrop Near the Main Seating or Cake Area

The canopy overhead pairs naturally with a coordinating backdrop wherever guests will end up getting photographed most, usually the cake table or a designated photo corner. A simple curtain panel, a handful of paper fans, or a floral garland in tones that complement the warm glow tie the whole room together instead of leaving the canopy floating on its own as an isolated element.
Matching Backdrop Tones to Warm Light
Blush, cream, soft gold, and sage all read particularly well under warm white lighting, since none of them fight the yellow undertone the bulbs cast across the room. Cooler tones like true blue or stark white tend to look a little washed out or flat in comparison once the warm light hits them.
8. Keep the Floor Clear Beneath the Canopy
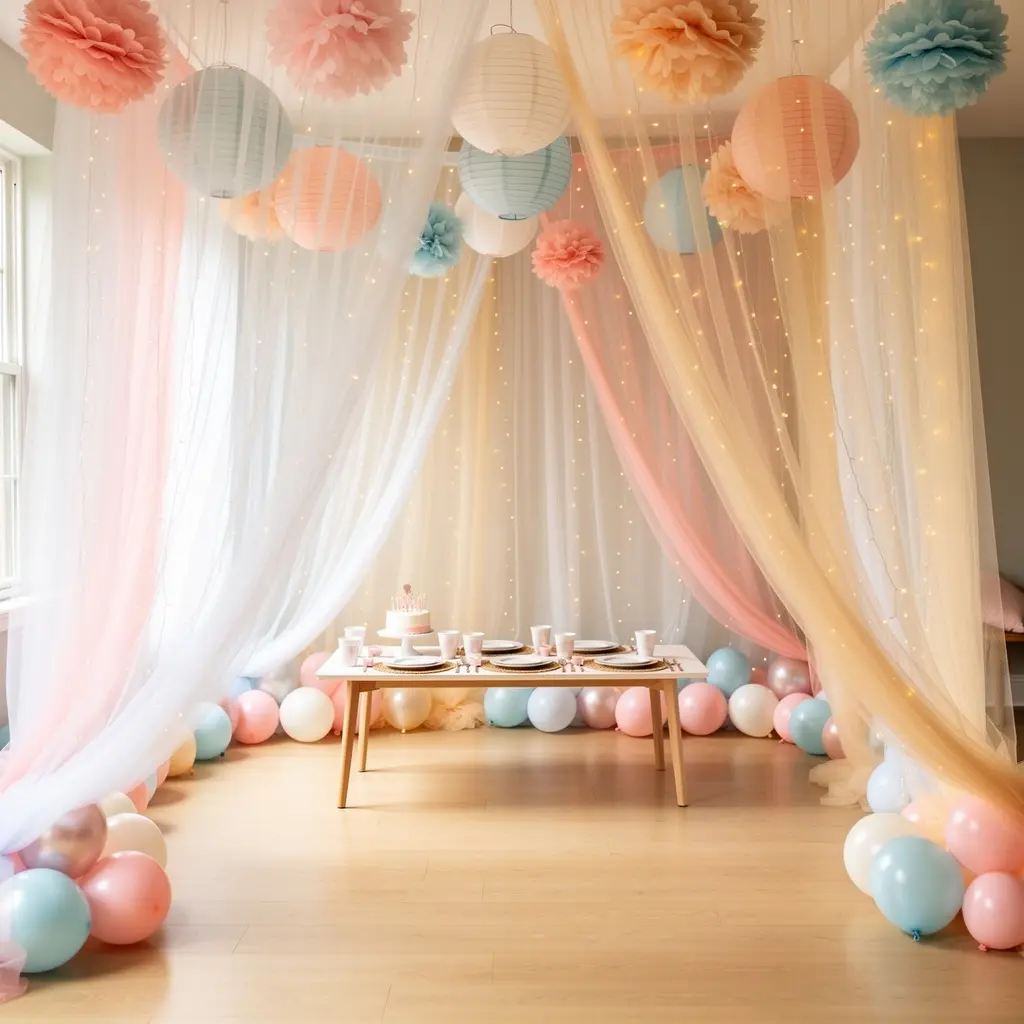
One common mistake is building a genuinely stunning overhead canopy and then leaving the floor beneath it cluttered with furniture, visible cords, or leftover packaging from setting the whole thing up. A clear floor space beneath the lights, even just a rug and a couple of floor cushions, lets the canopy read as an actual destination within the room instead of a decoration floating awkwardly above a mess.
9. Plan the Lighting Transition for Evening
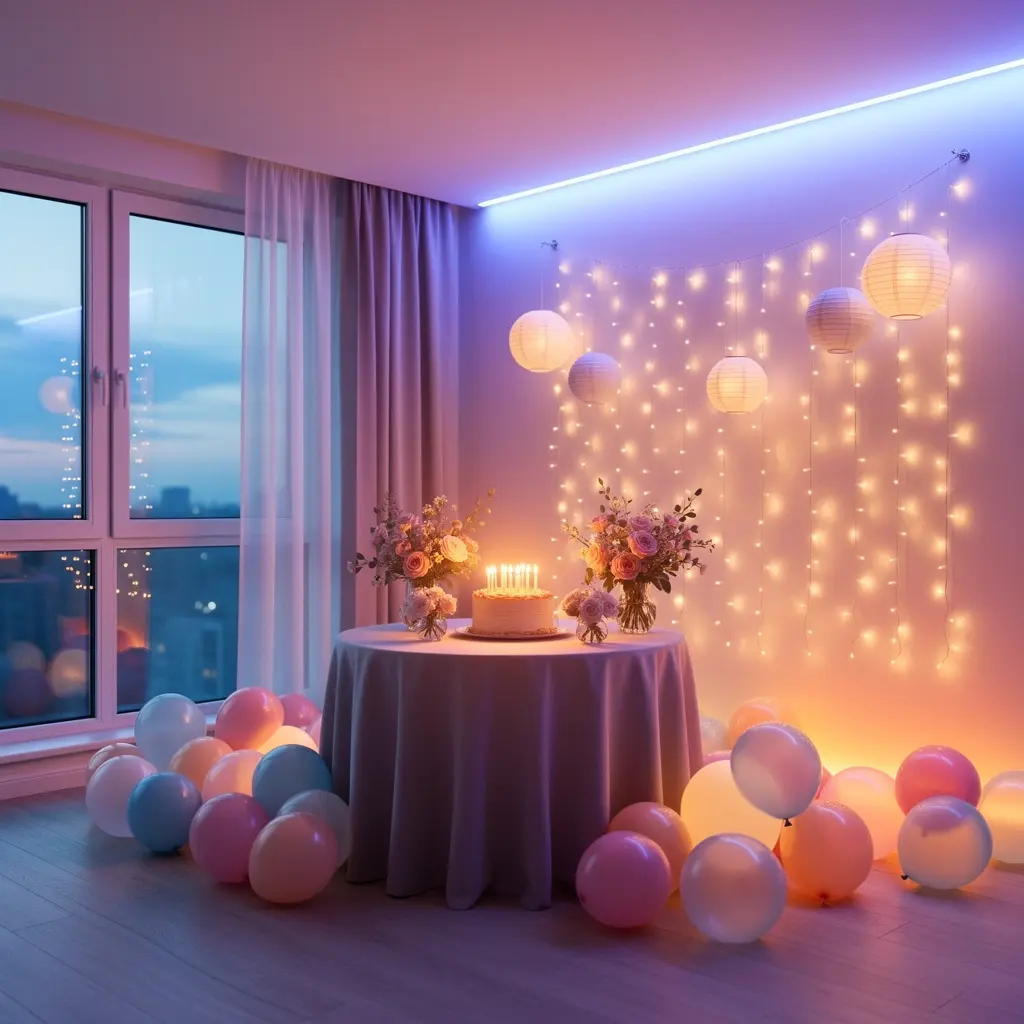
If the party runs into the evening, plan around the moment the room’s natural light drops and the canopy takes over as the dominant light source in the space. This is usually when the whole setup looks its absolute best in photos, so it’s worth timing something like cake cutting or a group photo for that window rather than earlier in the day when competing daylight can wash the effect out almost entirely.
10. Budget Realistically for the Full Setup

A complete fairy light canopy setup, the frame, six to eight strands of warm white lights, sheer fabric, and a battery pack or two, typically lands somewhere in that same $30 to $120 range depending on room size and how much you’re buying new versus reusing. Reusable components mean the cost drops significantly for any future event, which makes this a genuinely efficient investment compared to decorations you’d only use once and toss.
Mistakes to Avoid
- Using only two or three strands of lights, which reads as sparse rather than immersive once it’s actually photographed
- Choosing cool white or mismatched color temperature bulbs instead of committing to one consistent warm white
- Taping strands directly to the ceiling with no frame, which sags and looks noticeably less polished as the party goes on
- Leaving the floor beneath the canopy cluttered instead of clear and genuinely intentional
- Skipping a coordinating backdrop entirely, which leaves the canopy feeling disconnected from the rest of the room
- Ignoring cord placement, creating a trip hazard or a visible mess that undercuts the whole dreamy effect
Frequently Asked Questions
How many strands of fairy lights do I actually need for a canopy? At least six to eight strands radiating from one central point is the general rule of thumb for an immersive, full looking canopy rather than a sparse scattering of individual lines with visible gaps.
What’s the best light color for a genuinely dreamy canopy look? Warm white, generally in the 2700K to 3000K range, creates the cozy, golden glow most people associate with a dreamy indoor setup, especially compared to the more clinical look of cool white bulbs.
How much does a full fairy light canopy setup cost? A complete setup with frame, lights, and fabric typically runs between $30 and $120 depending on room size and materials, and many of those components can be reused for future events.
Can I build a canopy without attaching anything to the ceiling? Yes. A freestanding frame using PVC arches or a portable hoop stand achieves a similar effect with no permanent ceiling attachment, which matters a lot if you’re renting.
Do I need an outlet nearby to set this up? Not necessarily. Battery operated or USB powered string lights with a small power bank let you place the canopy wherever you want in the room without relying on outlet placement at all.
Conclusion
A fairy light canopy turns an ordinary indoor space into the kind of setup people actually remember and photograph, but the gap between one that looks dreamy and one that looks sparse comes down to a handful of specific choices: enough light density, a consistent warm color temperature, a real frame instead of tape, and a floor kept clear underneath it. Build the canopy first as the room’s anchor point, then layer in a coordinating backdrop and a lower light source to round the rest of the space out.

Leave a Reply