
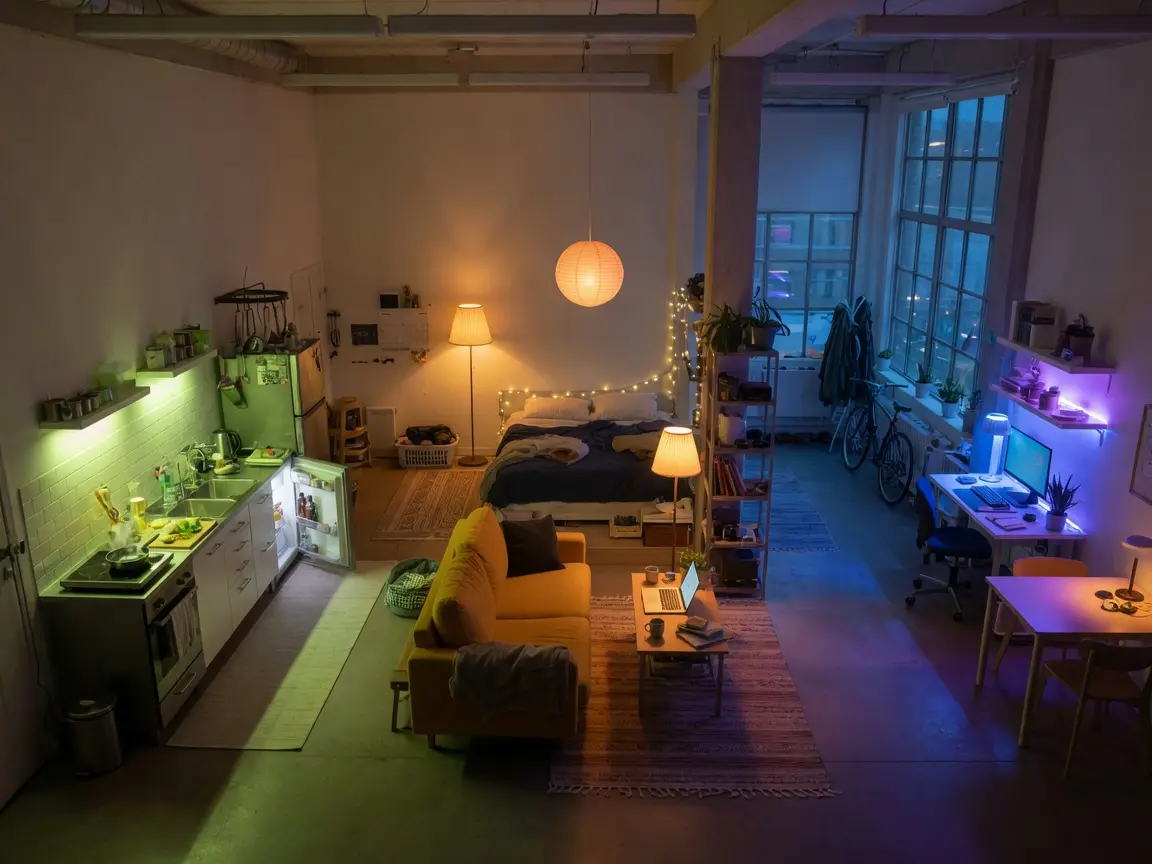
Your bed is six feet from your desk, which is four feet from your couch, and by 9pm you genuinely can’t tell if you’re supposed to be relaxing or still working, because visually, it’s all the same room. Studio apartment zoning ideas without walls solve that specific problem, the one where an open layout feels spacious on move-in day and disorienting by week three, because your brain never gets a clear signal about which mode it’s supposed to be in. You can’t put up drywall in a rental, and honestly, you probably wouldn’t want to even if you owned the place. But rugs, lighting, and furniture placement do almost all of what a wall would do, and they do it in a way you can undo in an afternoon. Here’s how to actually pull it off.
1. Let a Rug Define Where a Zone Begins and Ends
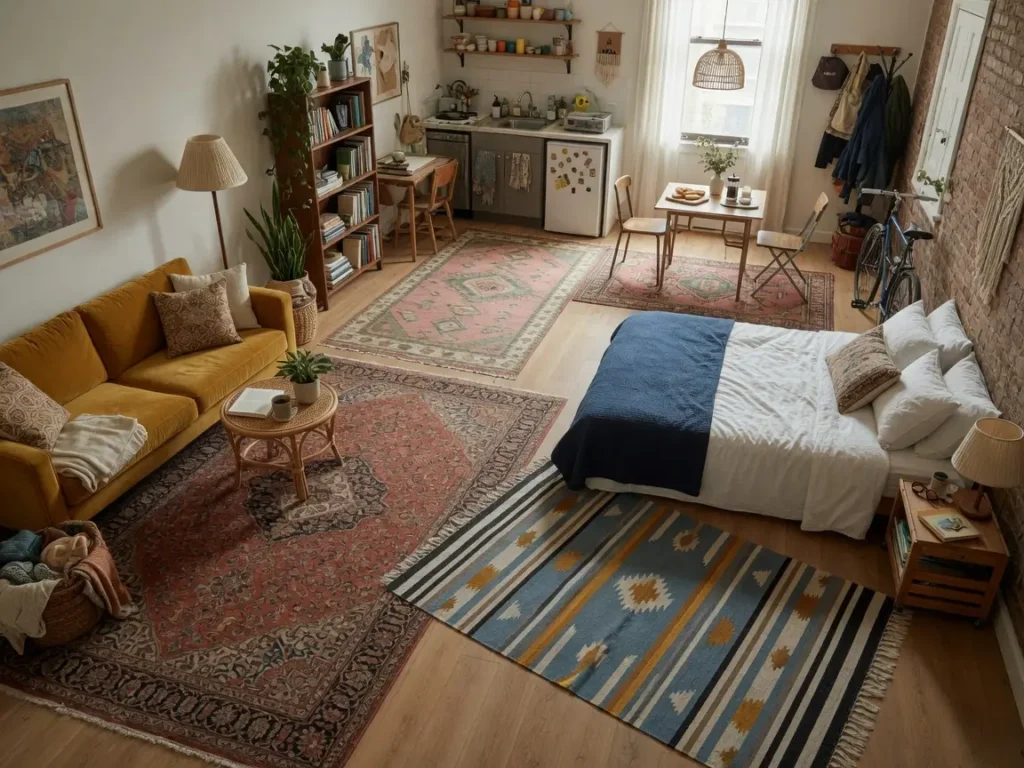
An area rug is doing more work in a studio than in almost any other room type, since it’s frequently the only signal telling your eye where one function of the room stops and another starts.
A rug placed under a sofa and coffee table marks the living zone clearly, and it does that job even without a single piece of furniture changing position. The rug needs to be sized properly to work, at minimum, the front legs of your seating should sit on it, since a rug that only peeks out from one edge reads as an afterthought rather than an actual boundary. Using a different rug texture for each zone, something plush underfoot near the bed, something more durable and low pile in the living area, adds a tactile signal on top of the visual one.
2. Change the Flooring Material Between Zones If You Can
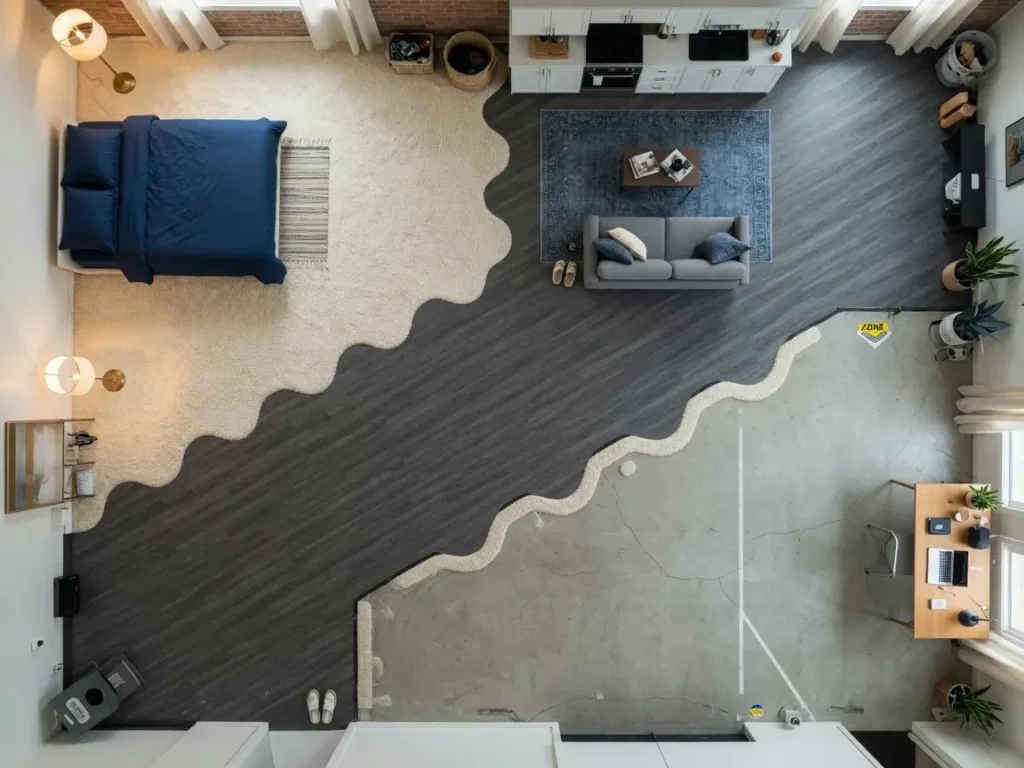
For anyone with more flexibility, renovating rather than renting, switching the actual flooring material between zones creates one of the strongest possible boundaries, since it works even when the furniture layout changes later.
Where This Works
Warm wood flooring in the living area transitioning to a slip-resistant tile in an open kitchen zone is a common version of this, and it has a practical benefit beyond the visual separation, since kitchen flooring genuinely needs to handle spills and heat differently than a living room does. A raised platform, even just a few inches, under a bed or entryway achieves something similar through height rather than material, giving that zone a subtle physical distinction the rest of the room doesn’t have.
3. Use Furniture Backs as Boundaries
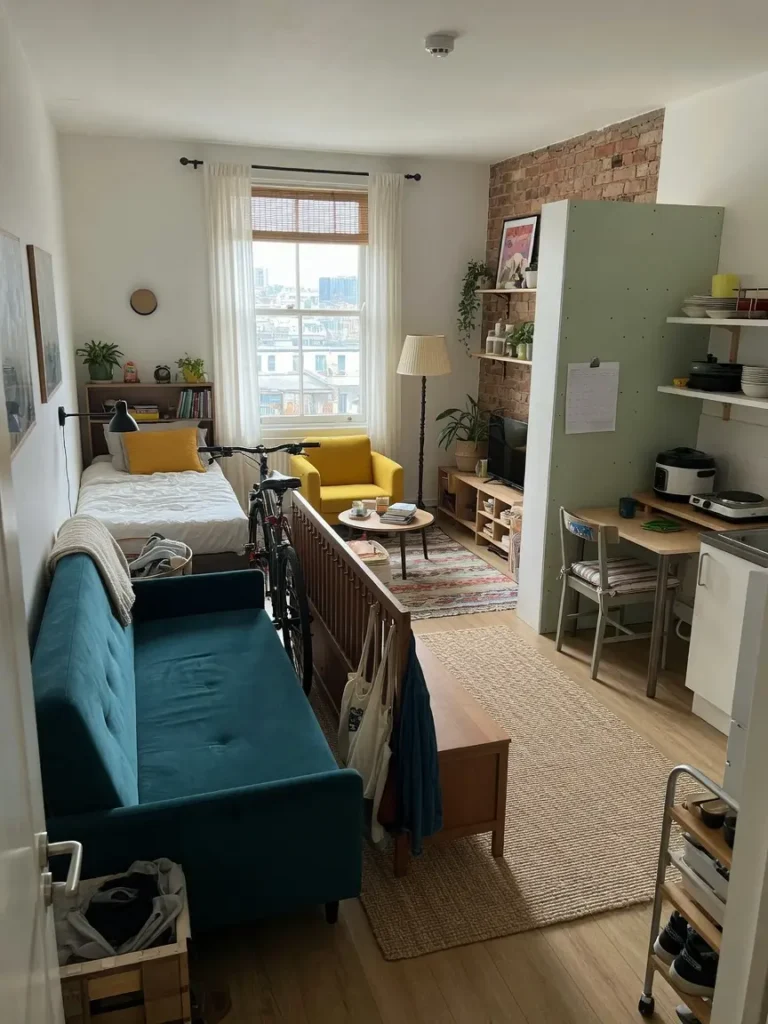
Positioning a sofa or bookshelf with its back facing another zone, rather than pushed flush against a wall, turns that single piece of furniture into a divider, splitting the room into two functional areas without adding anything new at all.
A sofa with its back to a dining area, or a desk placed directly behind the sofa, defines both the living zone and the work or dining zone at the same time, using furniture you probably already own. A tall, open-backed bookshelf placed perpendicular to a wall does this even more clearly between a sleeping zone and a living zone, since it gives the sleeping area a visual back wall while functioning as storage and display from the living side.
4. Add a Half-Height Divider for Storage and Separation
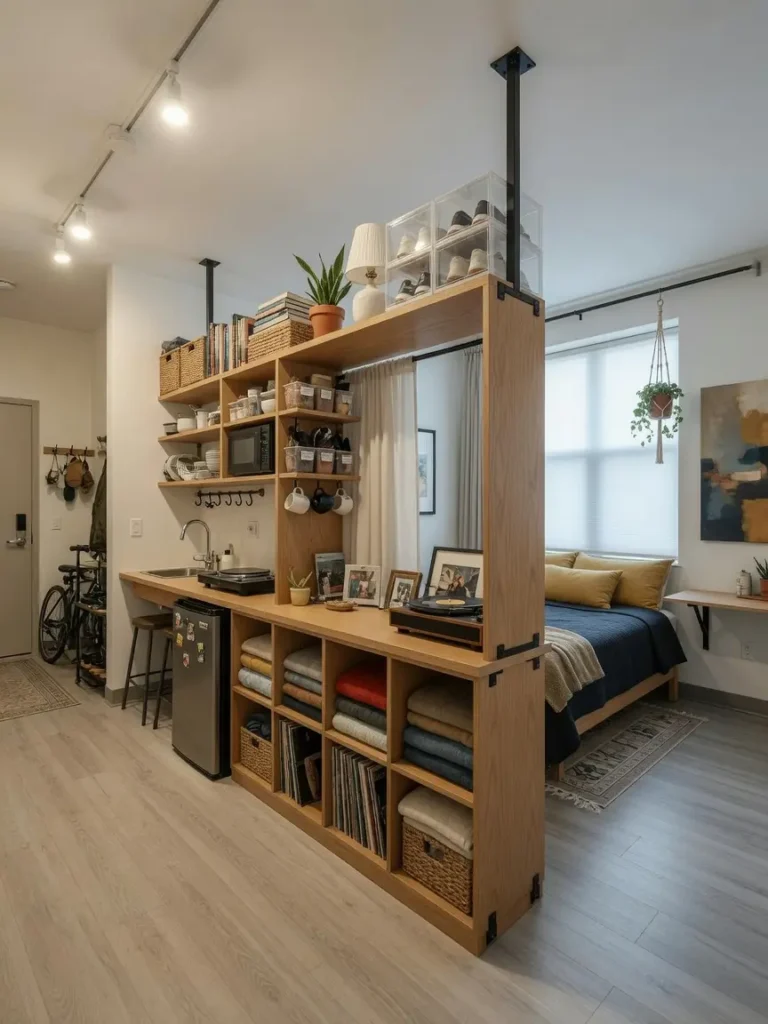
Low cabinets, generally in the 90 to 120 centimeter range, or a half-height television wall, split a studio into distinct zones while keeping the upper portion of the room open, so light and sightlines still travel across the whole space.
This approach solves two problems in one piece of furniture. You get a genuine visual boundary, and you get storage capacity a simple curtain or rug can’t provide. It’s a bigger commitment than a rug or a repositioned sofa, so it tends to make more sense for a longer term rental or an owned space rather than a short term lease where you might need to reverse everything quickly.
5. Use a Ceiling-Mounted Curtain Track for a Flexible Divider
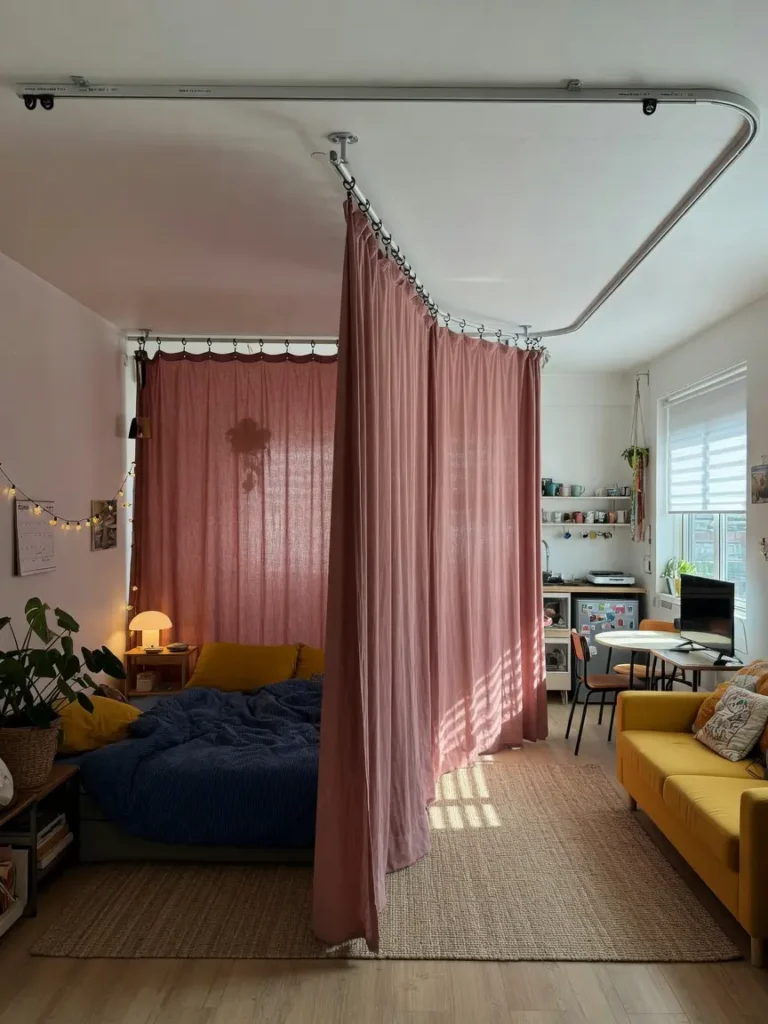
A curtain track mounted to the ceiling lets you draw a full visual wall around a sleeping area at night for privacy, then pull it back completely during the day to keep the studio feeling open, which is a level of flexibility a fixed divider can’t offer.
Getting the Materials Right
Floor-to-ceiling linen curtains generally read as more considered than a sheer synthetic panel, and heavier fabric also does a slightly better job dampening sound and light between zones. This is one of the more renter-friendly options on this list too, since a ceiling track typically installs with a handful of screws or an adhesive mount, depending on the model, rather than anything more invasive.
6. Shift Lighting Color Temperature by Zone
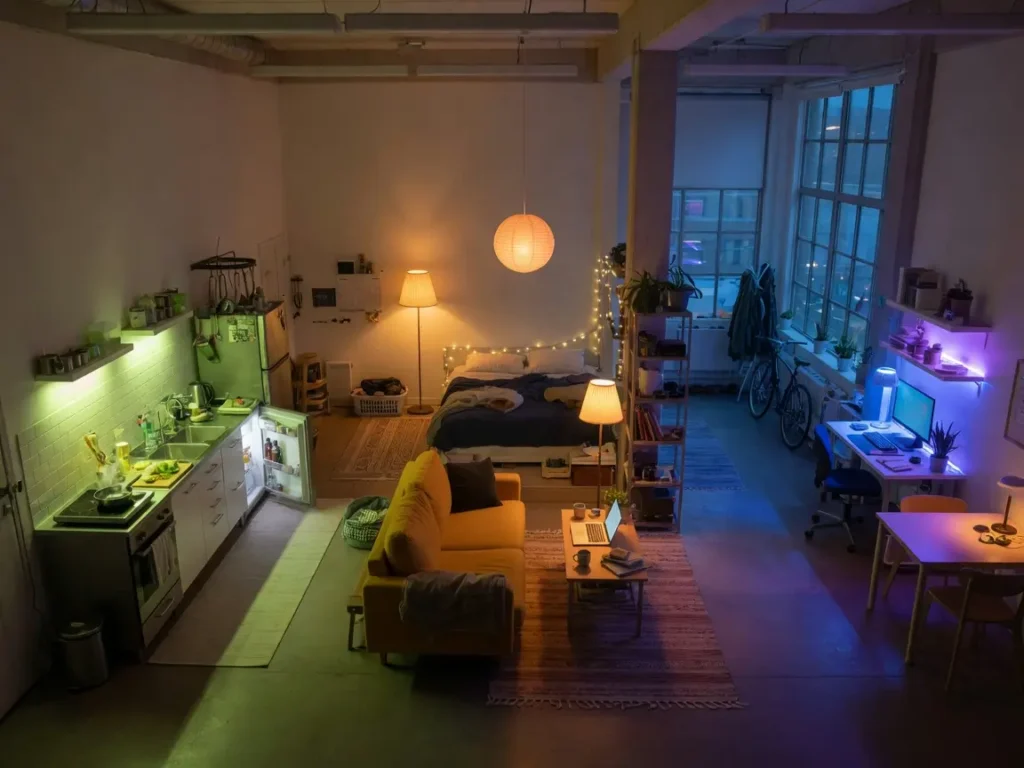
Different color temperatures of light genuinely change how a space feels, and using a slightly different temperature in each zone reinforces the boundary your rugs and furniture are already establishing.
Warmer light, generally in the 2700K range, suits a sleeping zone, since it supports winding down rather than staying alert. A living or lounging zone works well in a similar warm-to-neutral range, while a dedicated work zone benefits from cooler, brighter light, closer to 4000K, which supports focus rather than relaxation. A pendant light hung specifically over a dining or work area, separate from your general room lighting, adds another layer of definition on top of the color temperature shift.
7. Give the Work Zone Its Own Dedicated Spot
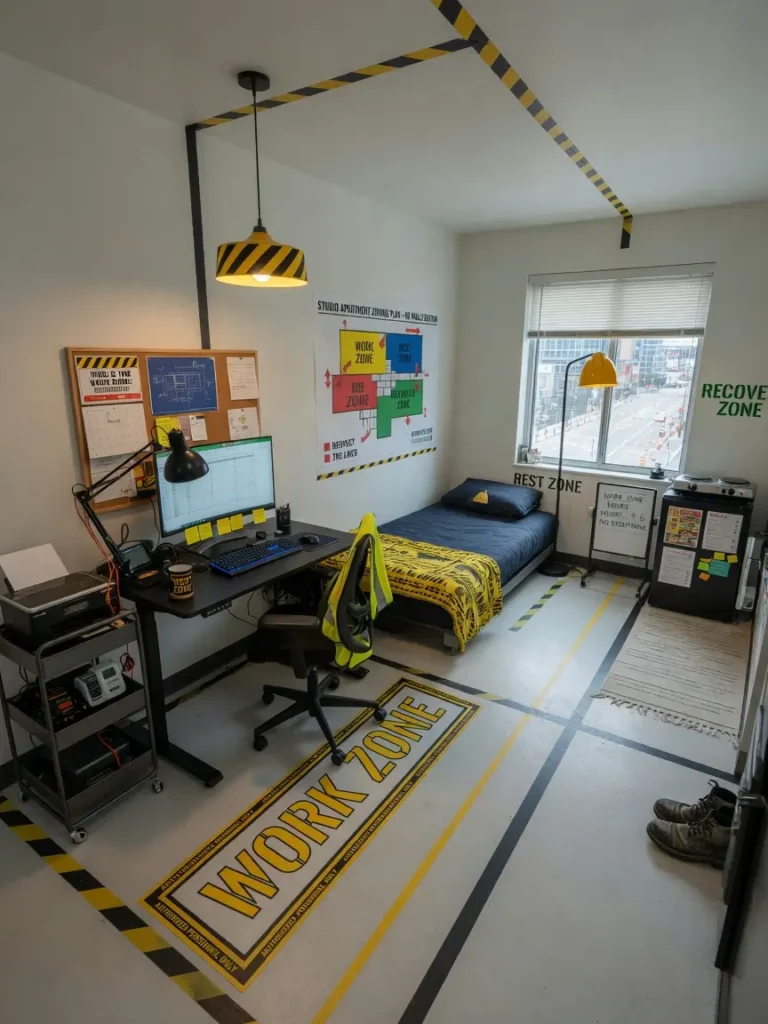
The work zone is the one people most often skip or half-commit to in a studio, and it’s also the zone that affects daily quality of life the most, since working from the same couch or bed you relax in blurs the line between the two more than almost anything else on this list.
A slim desk, even a fold-down or wall-mounted one if floor space is genuinely tight, positioned somewhere with its own lighting and, ideally, facing away from the bed, gives you an actual boundary between work mode and rest mode. This matters even in a very small space. A desk that’s two feet deep, tucked into an underused corner, still does the job of creating a clear, separate zone that a laptop balanced on your knees on the couch never will.
8. Use Color Blocking to Distinguish a Sleep Zone
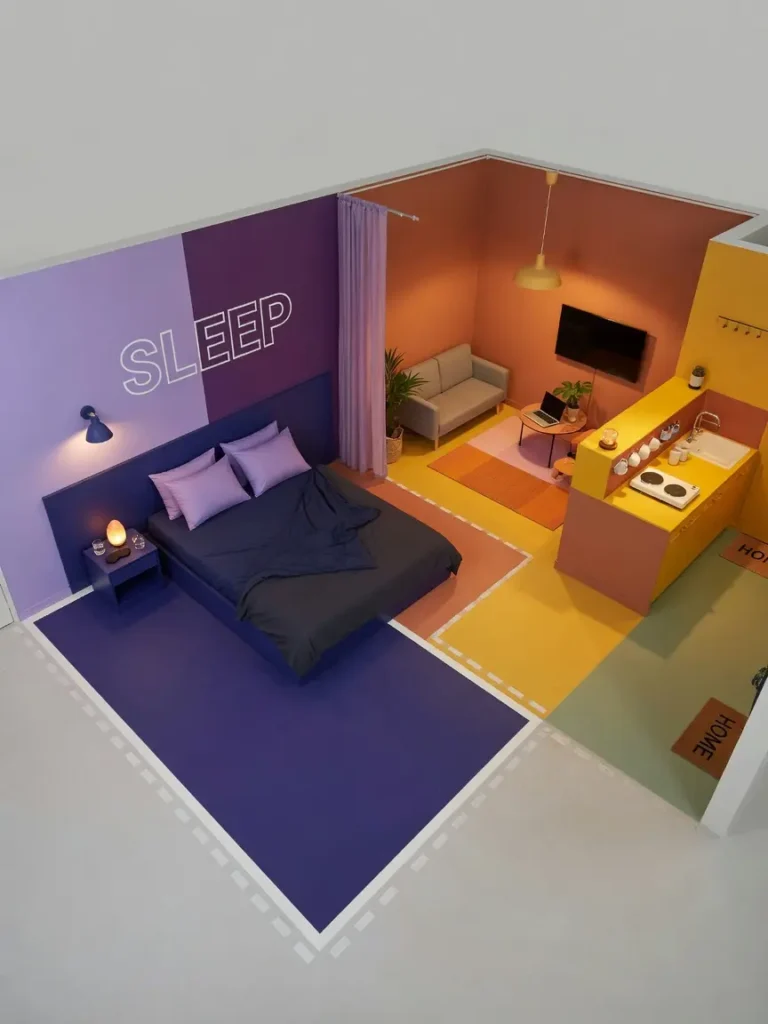
Painting the wall behind your bed a different, deeper color than the rest of the room, and optionally extending that color slightly onto the ceiling directly above the bed, creates a kind of canopy effect that visually separates the sleeping zone using nothing but paint.
This is one of the lowest cost options on this list if you’re allowed to paint, and it’s also one of the more permanent-feeling ones, since a bold color statement reads as a real design choice rather than a temporary workaround. Warm terracotta, dusty sage, or a deep greige all work well for this, chosen specifically because they read as cozy and enclosed rather than stark, which supports the sense that this particular corner of the room is for rest.
9. Keep the Center of the Room Clear
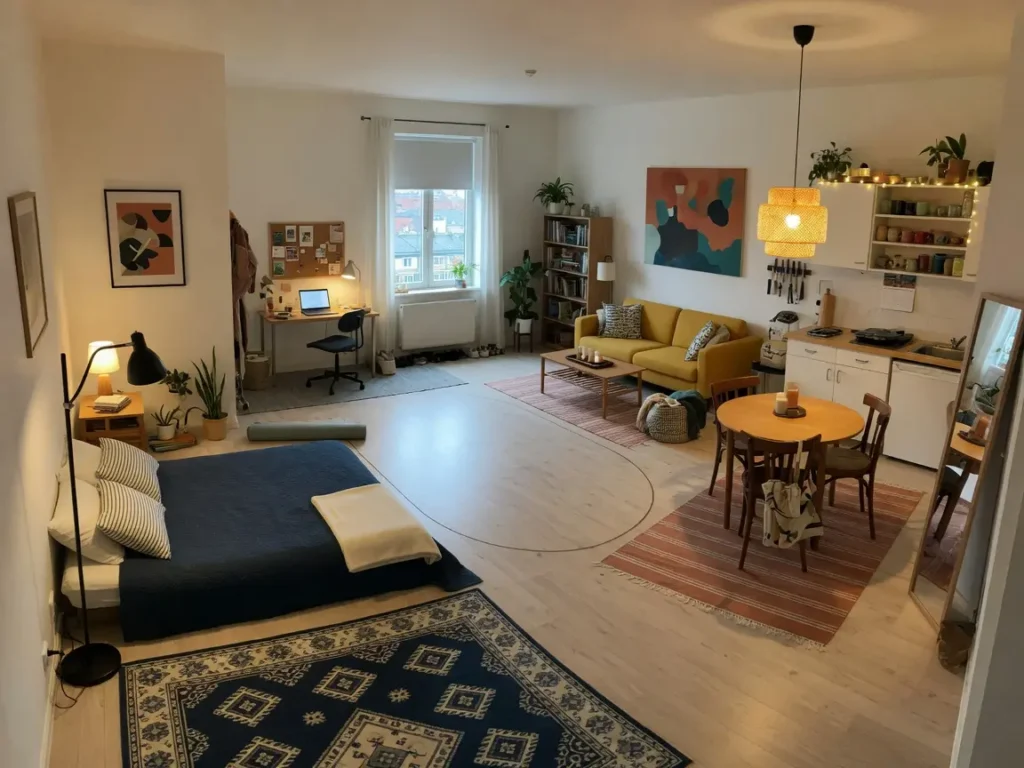
The most common mistake in studio zoning isn’t too little separation, it’s furniture sized for the zone’s actual footprint rather than a general sense of “this should fit somewhere.”
Oversized furniture in any single zone tends to eat into the walkway that connects all the other zones, which undoes the sense of separate, purposeful areas even if each individual zone is nicely defined on its own. Before buying anything, measuring the actual clear floor space each zone needs, not just the furniture footprint, but room to walk around and use it, prevents the kind of crowding that makes a well-zoned studio start to feel like one cramped room again.
10. Test the Layout Before Committing to Anything Permanent
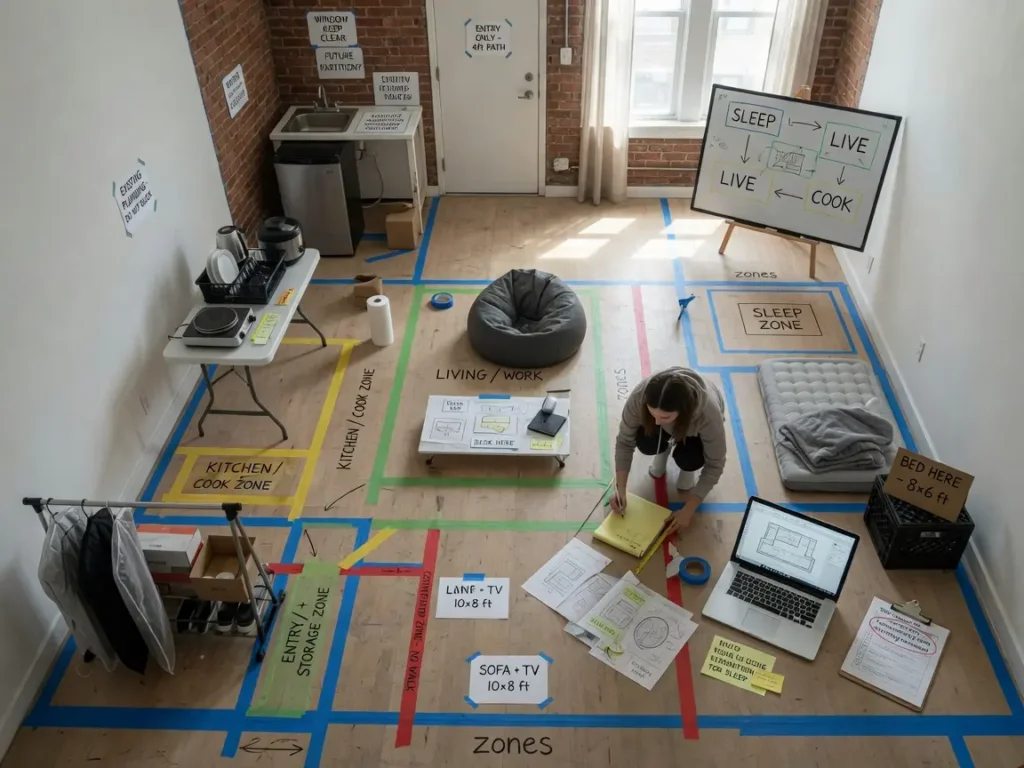
Studio zoning benefits enormously from trial and error, since a boundary that looks right on paper can feel completely wrong once you’re actually living with it, walking through it every day, running into furniture at odd angles.
Living with a rough version of the layout for even a few days before finalizing rug placement or buying a room divider tends to reveal problems, a walkway that’s too narrow, a desk facing the wrong direction, that are much easier to fix before anything’s been drilled into a wall or a rug’s been cut to size. If you’re planning a bigger change, a raised platform or a half-height cabinet, taping out the footprint on the floor first gives you a rough sense of scale without any actual commitment yet.
Mistakes to Avoid
- Choosing a rug that’s too small for the zone it’s meant to define. If the rug doesn’t extend under at least the front legs of your furniture, it reads as incidental rather than intentional.
- Skipping the work zone entirely. Working from the bed or couch blurs the boundary between rest and productivity more than almost anything else in a studio.
- Using the same lighting temperature throughout the whole room. Shifting warmer for sleep and living zones, cooler for work, reinforces the separation your furniture is already creating.
- Oversizing furniture for a single zone. It’s the single most common reason a well-planned studio still feels cramped, more often than the zoning concept itself failing.
- Committing to a permanent change before testing the layout. Living with a rough version for a few days reveals problems that are much easier to fix early.
- Forgetting that renters need reversible solutions. Curtain tracks, freestanding shelves, and rugs zone a space just as effectively as built-in changes, without violating a standard lease.
Frequently Asked Questions
What’s the single most effective tool for zoning a studio without walls? A properly sized area rug is generally considered the most powerful zoning tool, since it clearly signals where a zone begins and ends without requiring any furniture rearrangement or construction at all.
Can I zone a studio apartment as a renter without violating my lease? Yes. Rugs, freestanding furniture, curtain tracks, and lighting changes all zone a space effectively without any permanent alteration, which makes them safe for a standard rental lease that prohibits structural changes.
Should every zone use the same lighting temperature? No. Warmer light, around 2700K, generally suits sleeping and lounging zones, while a work zone benefits from cooler, brighter light closer to 4000K to support focus rather than relaxation.
How do I zone a work area if I don’t have room for a full desk? A slim, fold-down, or wall-mounted desk works in a surprisingly small footprint, even just two feet deep, as long as it has its own dedicated spot and, ideally, its own lighting separate from the rest of the room.
What’s the most common mistake people make when zoning a studio? Buying furniture sized for a general sense of the room rather than the specific zone it needs to fit into, which crowds the walkways connecting each area and undoes the separation even when each individual zone looks fine on its own.
Bringing It All Together
Studio apartment zoning ideas without walls come down to giving your brain clear, consistent signals about which part of the room is for what, using rugs, furniture placement, and lighting instead of construction. Starting with a properly sized rug under your living area furniture and a dedicated, even small, work zone usually solves most of the disorientation a fully open studio creates. From there, a curtain track for the sleeping area, a shift in lighting temperature by zone, and a bit of patience testing the layout before finalizing anything are what turn one undivided room into a space that actually functions like several.

Leave a Reply